How to Remove Old License Keys in Office 2019 / 2016 / 2013
How to replace Office license key before the expiration date? How to remove cracked office installation license keys? Is there a way to change the product key without reinstalling Office suite? Do you have an old PC you want to sell, but also want to transfer your Office license to your new PC? In this tutorial we’ll show you an easy way to remove the existing product key registered with your Microsoft Office 2019 / 2016 / 2013 application.
Part 1: Check the Office License Status
To get started, open the Command Prompt as administrator. Navigate to the Microsoft Office program folder using the cd command. The subfolder varies depending on your Office version:
- Office 2016 / 2019:
C:\Program Files\Microsoft Office\Office16orC:\Program Files (x86)\Microsoft Office\Office16 - Office 2013:
C:\Program Files\Microsoft Office\Office15orC:\Program Files (x86)\Microsoft Office\Office15
Example:
cd C:\Program Files\Microsoft Office\Office16
Now you can check the license status by running the script called ospp.vbs, which is located in your Office program folder.
cscript ospp.vbs /dstatus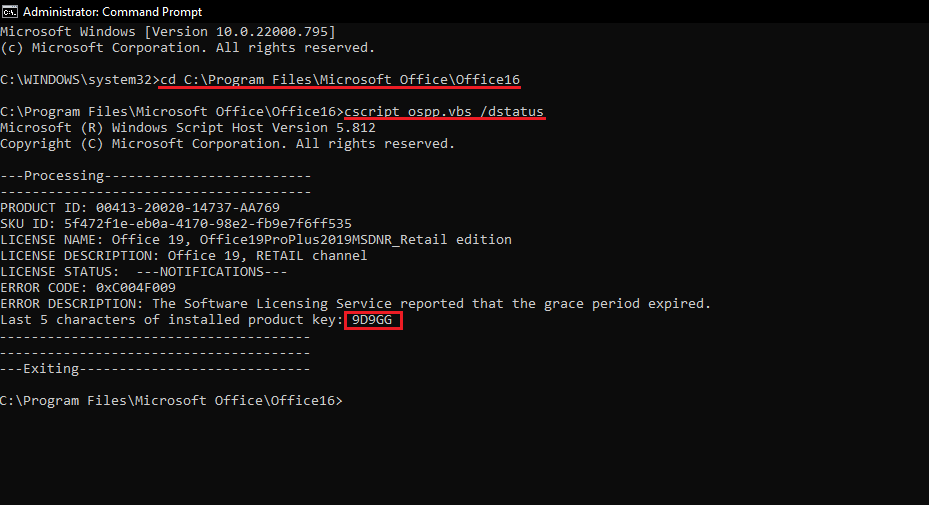
You’ll see some license details such as the license type (a retail copy, a volume licensed copy, or Office subscriptions copy) and the last 5 characters of the product key. Sometimes it will show more than one license keys, remove all of them one by one using below method.
Part 2: Remove Existing Office Product Key
To remove your Office product key, you need to use the /unpkeyswitch, along with the last 5 characters of the product key.
cscript ospp.vbs /unpkey:{last five characters of product key}
Example:
cscript ospp.vbs /unpkey:9D9GG
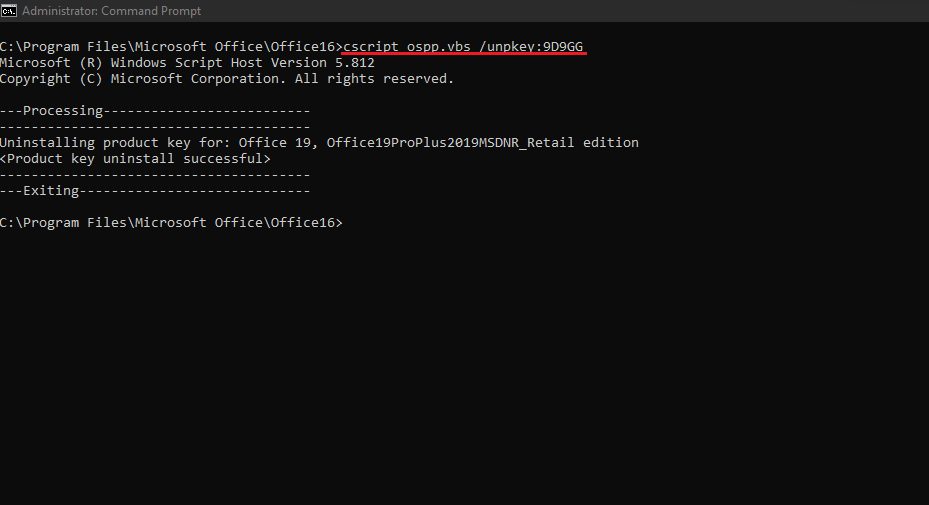
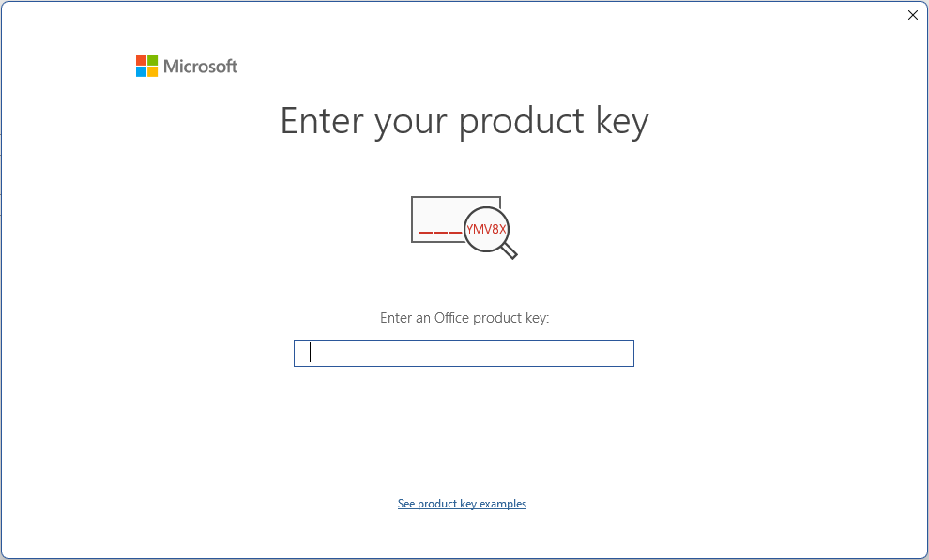
You will be told that your Office product key has been uninstalled. Now, Open any Office application like Word and it’ll ask you to enter new product key.